How to Add an Instant Fence Estimator to Your Website (Step-by-Step Guide)
Turn website visitors into pre-qualified fence leads. Learn how to embed an interactive satellite fence calculator on WordPress, Wix, Squarespace, and GoHighLevel in under 5 minutes.
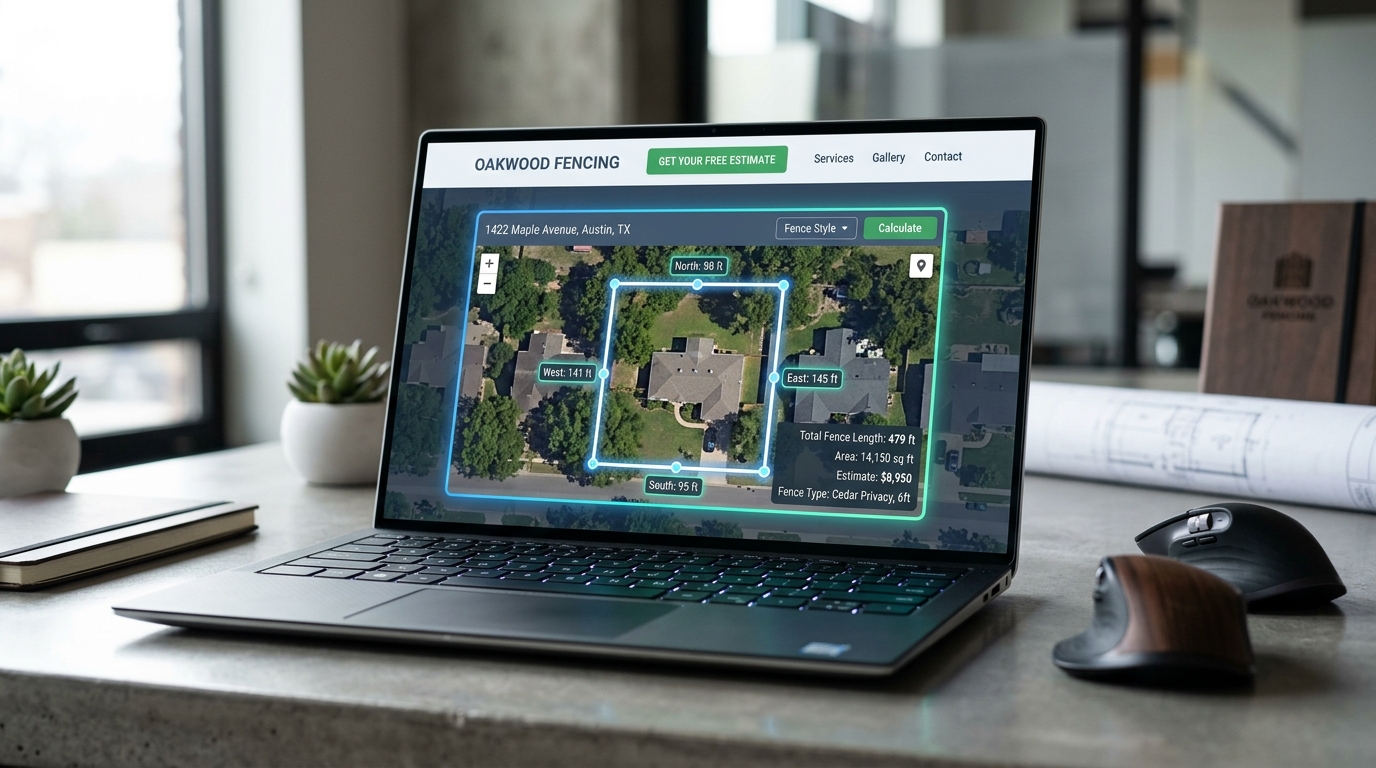
If your fence company website relies on a generic “Contact Us” or “Request a Free Quote” form, you are losing jobs to competitors every single week.
In 2026, homeowners do not want to wait 48 hours for a phone call just to find out if a backyard privacy fence will cost $3,500 or $12,000. They want immediate answers. When they can’t get an idea of pricing from your site, they click back to Google and contact the next fence builder on the list.
At the same time, every contractor has experienced the opposite frustration: driving 45 minutes across town, measuring property lines with a wheel, calculating material costs, only to hear: “Oh, we only had a $1,500 budget.”
Adding an instant online fence estimator widget to your website solves both problems at once. Homeowners get visual satellite drawing and instant budget transparency, while you receive pre-qualified, exclusive leads with complete job dimensions before you ever roll a truck.
Here is the complete step-by-step guide to adding an interactive fence estimator to your website—on WordPress, Wix, Squarespace, GoHighLevel, or any custom CMS—in under five minutes. (For what the estimator itself does once it is on the page, see the website fence estimator feature overview.)
What Is an Interactive Website Fence Estimator?
An online fence estimator is an interactive tool embedded directly into your website (or linked from your call-to-action buttons). Unlike generic cost calculators that ask users to guess their linear footage, a modern satellite fence tool guides the homeowner through an intuitive visual workflow:
- Address Search & Satellite Imagery: The homeowner types their residential address, and the widget automatically centers high-resolution satellite imagery on their lot.
- Interactive Perimeter Drawing: With simple clicks or finger taps on mobile, the homeowner traces where they want the fence installed. The tool calculates exact linear footage in real-time.
- Style & Material Selection: The homeowner chooses between your active offerings—such as 6ft Cedar Privacy, White Vinyl, Black Aluminum, or Galvanized Chain Link.
- Gates & Teardown Specifications: They drop single walk gates and double drive gates onto the fence line, and say whether an old fence needs to be torn down and hauled away.
- Contact Details: The homeowner enters their name, email, phone number and the best time to reach them. The lead is created at this point, so even someone who closes the tab afterwards still lands in your dashboard as a “Dropped Off” lead with the address and drawing attached.
- Instant Budget Range: Based on your catalog, the tool presents a budget range (e.g.,
$4,800 – $5,700) and a branded PDF the homeowner can keep and share.
You receive an instant lead notification containing the homeowner’s contact information, satellite line diagram, total linear footage, selected materials, and estimated valuation.
Two Ways to Add MapMyFence to Your Site
Depending on your website design and layout preferences, you have two simple ways to integrate the estimator:
Option 1: Direct Button Link (Zero Code)
The fastest method is to link directly to your custom contractor estimator page (https://mapmyfence.com/estimate/your-company-slug).
You can attach this link to any primary call-to-action button across your site, such as:
- Header Navigation: “Instant Online Quote” or “Estimate Your Fence”
- Hero Section: “Draw Your Yard & Get Pricing”
- Floating Mobile Action Bar: “Calculate Cost”
When visitors click the button, the estimator opens full-screen in a clean, dedicated window optimized for mobile tap interactions and desktop mouse controls.
Option 2: Inline Iframe Embed (Native on Your Page)
If you prefer visitors to stay directly on your domain, you can embed the tool using a simple <iframe> snippet.
This embeds the full interactive satellite map directly into your page layout:
<iframe
  src="https://mapmyfence.com/estimate/YOUR-COMPANY-SLUG?embed=true"
  width="100%"
  height="700px"
  frameborder="0"
  style="border: 1px solid #e2e8f0; border-radius: 12px; box-shadow: 0 4px 6px -1px rgb(0 0 0 / 0.1);">
</iframe>
(Replace YOUR-COMPANY-SLUG with your custom company handle found in your MapMyFence dashboard).
Step-by-Step Installation by Platform
Adding the embed code takes less than two minutes regardless of what platform powers your fence website.
1. How to Add to WordPress
WordPress powers a significant percentage of contractor websites. Here is how to add the estimator using either the default Block Editor (Gutenberg) or Elementor:
Using the Block Editor (Gutenberg):
- Navigate to your WordPress admin dashboard and open the page where you want the estimator to appear (e.g.,
Pages > Instant Estimateor yourHomepage). - Click the + (Add Block) icon where you want the widget to display.
- Search for Custom HTML and select it.
- Paste your MapMyFence iframe snippet into the block text area.
- Click Preview to verify the layout, then click Update or Publish.
Using Elementor:
- Open your page in the Elementor visual builder.
- In the left-hand widget panel, search for the HTML widget.
- Drag and drop the HTML widget into your desired section or column.
- In the HTML Code box on the left panel, paste your iframe embed snippet.
- Set the section to full width or boxed depending on your layout, and click Update.
2. How to Add to Wix
- Open your site in the Wix Studio or Wix Editor.
- Click the + (Add Elements) button on the left sidebar.
- Select Embed Code, then click Embed HTML (or HTML iframe).
- Click Enter Code above the new element.
- Paste your MapMyFence embed snippet into the box and click Apply.
- Resize the element container to be 100% width and drag the height handle down to at least 700px so the satellite map and controls have ample breathing room.
- Click Save and Publish.
3. How to Add to Squarespace
- Log into Squarespace and edit the page where you want the estimator located.
- Click Add Block or Add Section in your page editor.
- Select the Code block (or Embed block) from the menu.
- Set the code type dropdown to HTML.
- Paste the MapMyFence iframe code into the box.
- Make sure “Display Source” is toggled off.
- Adjust the width and height of the block grid to ensure full visibility.
- Click Save and Exit.
4. How to Add to GoHighLevel (GHL) / LeadConnector
GoHighLevel is widely used by fence marketing agencies and contractors running targeted local pay-per-click (PPC) campaigns.
- Go to Sites > Funnels (or Websites) in your GoHighLevel dashboard.
- Open the landing page editor for your fence campaign.
- Add a Full Width Section and a 1-Column Row.
- Click Add Element and choose Custom JS/HTML.
- Click on the newly added element, then click Open Code Editor in the left sidebar.
- Paste your MapMyFence iframe snippet and click Save.
- Click Save in the top right of the builder and preview your funnel.
Pro Tip for Ad Campaigns: If you are running Google Search Ads for terms like “fence installation near me”, send that traffic to a dedicated landing page with the estimator embedded. MapMyFence records the
gclidon every lead that comes through it, so you can see in your reports which campaigns produce jobs rather than just clicks.
5. How to Add to Webflow or Duda
- Webflow: Drag an Embed component from the Add panel into a container or section. Paste the iframe code inside the HTML Embed Code Editor and click Save & Close.
- Duda: In the left panel, click Widgets, search for HTML, drag it onto your page, paste your embed snippet, and click Done.
4 Best Practices Before Launching Your Estimator
To ensure maximum lead conversion and protect your gross profit margins, make sure your backend settings are configured before you announce the new tool:
1. Set Your Service Area Geofence
Never spend time reviewing inquiries from homeowners 60 miles outside the area you actually cover. In your MapMyFence settings, draw your service area directly on a map — it can be any shape, not just a radius, so you can follow the county line or skip the far side of the river. When an address falls outside it, the homeowner sees a note that the property is outside your standard service area, and the lead arrives in your dashboard flagged, so nobody books a two-hour round trip by accident.
2. Enter Accurate Per-Foot Material Baselines
Your per-foot pricing catalog dictates the numbers shown to the homeowner. Enter your standard rates per linear foot for:
- 4ft & 6ft Wood Privacy (Pickets, Rails, Posts)
- 4ft & 6ft Vinyl Privacy
- Ornamental Aluminum / Steel
- Residential & Commercial Chain Link
3. Account for Gates & Teardowns
Standard panel footage doesn’t account for gate hardware or demolishing an existing rotting fence. Make sure you set:
- Single Walk Gate Fee: e.g., $175 – $300 flat per gate.
- Double Drive Gate Fee: e.g., $450 – $800 flat per gate.
- Old Fence Teardown & Haul-away: e.g., $3.50 – $5.00 per linear foot.
4. Use a Range, Not a Fixed Price
Never quote an exact single dollar figure online without physically inspecting tree roots, property grade, and underground utilities. Every line in your MapMyFence catalog carries a low and a high per-foot figure, and gates and teardown have a low and high too, so the homeowner sees a budget range rather than a single number. This sets realistic expectations without boxing you into a binding quote before an in-person site walk.
What Happens When a Homeowner Submits an Estimate?
Once your estimator is live on your website, your lead capture workflow transforms:
- Instant Notification: You receive an email the moment the estimate completes, and if you have a CRM webhook configured the full lead is posted there at the same time.
- Complete Project Overview: Instead of a vague note saying “Need fence quote”, your dashboard displays:
- Satellite map screenshot highlighting property lines.
- Total measured perimeter (e.g., 184 linear feet).
- Chosen height, style, and color.
- Number of gates and teardown selections.
- Automated price range shown to the homeowner.
- Traffic source attribution (know whether the lead came from Google Organic, Facebook Ads, or a direct link).
- High-Value Follow-Up: When your sales rep calls the homeowner, they aren’t starting from scratch. They can say: “Hi Sarah, I see you drew out 184 feet of 6ft cedar privacy with a walk gate on Maple Avenue. Your budget came out between $4,900 and $5,500. Let’s schedule 15 minutes this Thursday to verify your property markers and lock in your contract date.”
Ready to Put an Instant Estimator on Your Website?
Eliminate wasted drive time, filter out low-budget tire kickers, and give your prospective buyers the instant digital experience they expect.
With MapMyFence, you can configure your custom catalog, set your service radius, and copy your embed snippet in less than 10 minutes.
Try MapMyFence for Free Today, open the live demo estimator to see what your customers would see, or read about the website fence estimator in detail.
Stop Driving to Unqualified Estimates
Let homeowners draw property lines & pre-qualify budgets online before you send a truck.
More from MapMyFence Blog
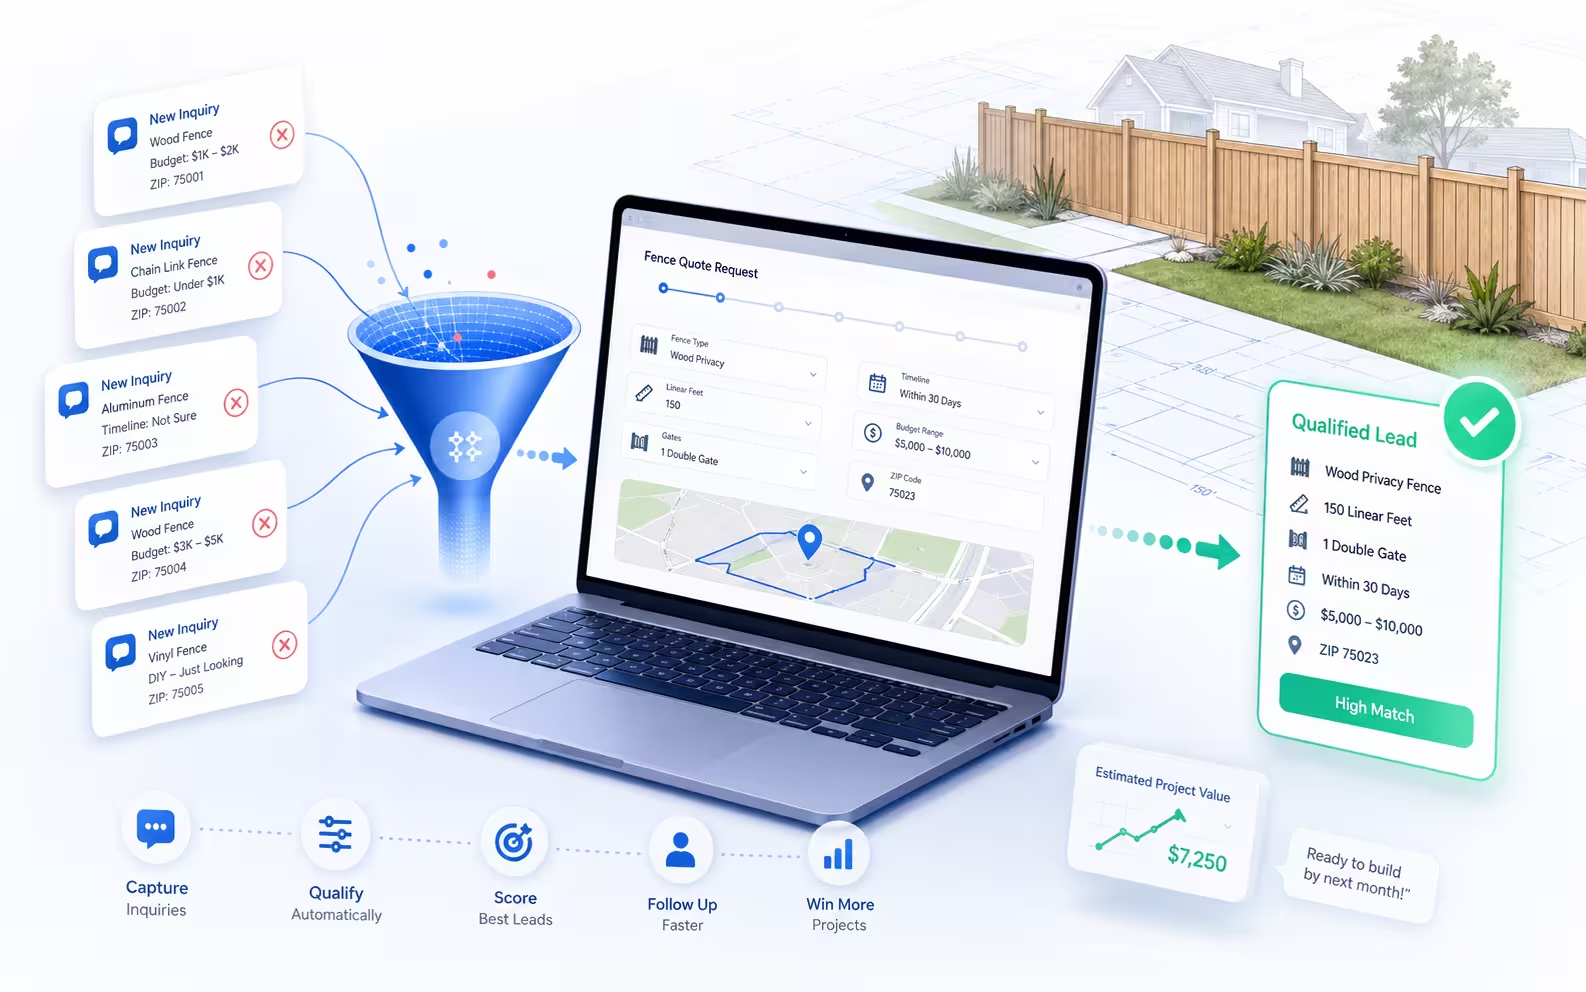
How Top Fence Contractors Qualify Leads Online Before Driving to Estimates
Stop wasting hours driving to un-qualified estimates. Discover how leading fence companies use instant online estimating tools to filter out tire-kickers automatically.
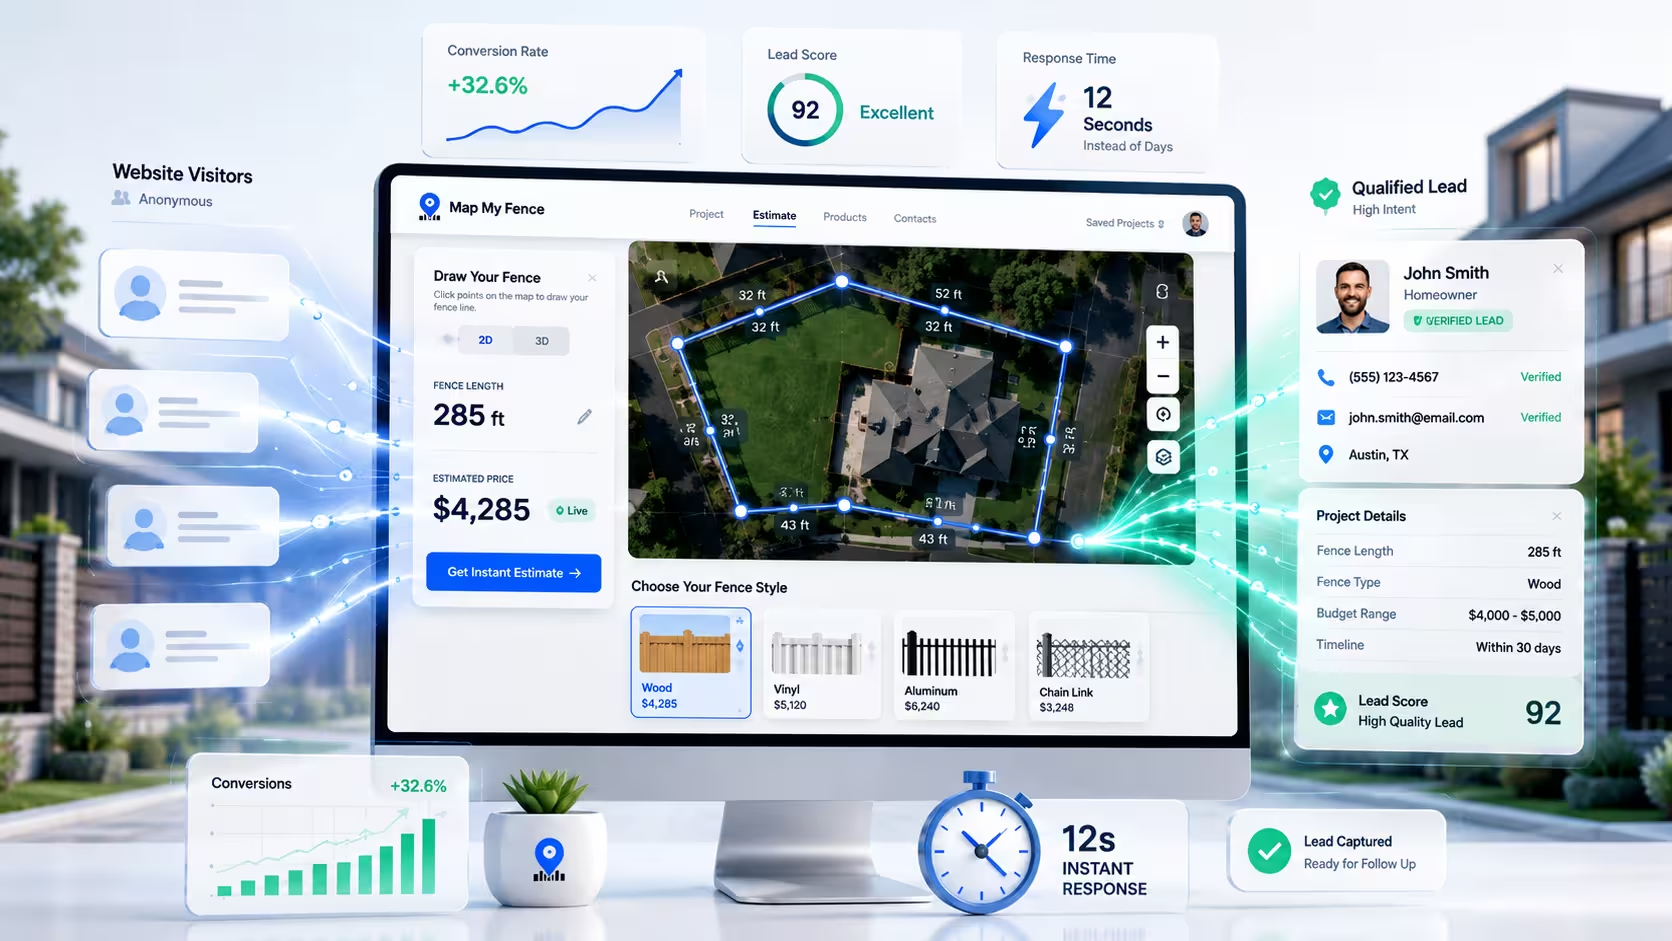
Why Instant Fence Estimators Convert Better Than 'Contact Us' Forms
Most visitors leave a static contact form without filling it in. Learn why interactive satellite fence calculators turn casual visitors into high-intent leads.